
Guides
How to Clean Foggy Headlights
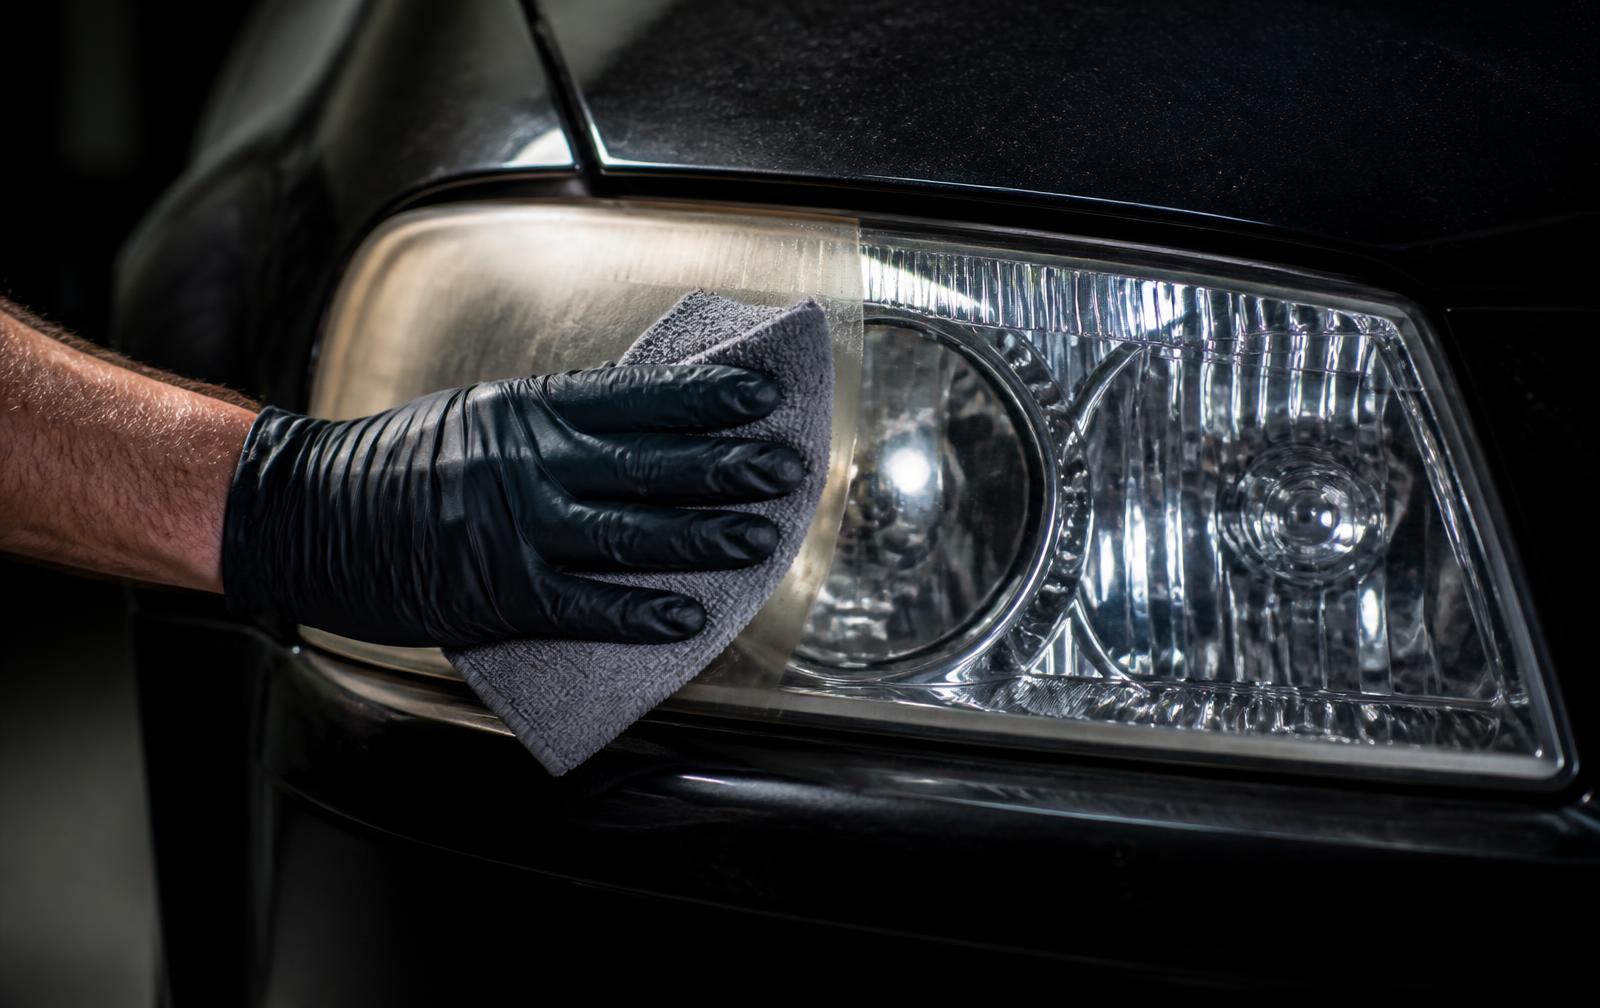
Foggy headlights are one of the most common complaints drivers have about the way their vehicle looks and performs after dark. The good news is that in most cases the damage is on the outside of the lens, which means it can be corrected. The question is how — and whether cleaning them yourself will actually solve the problem or just delay it.
Before reaching for any product, it helps to know what you are dealing with. Headlights are made from polycarbonate plastic protected by a thin factory UV coating. That coating is what fails. Once it wears away, sunlight reaches the bare plastic and oxidation begins, turning the surface yellow, hazy, or milky. Washing the car does not remove oxidation, because the haze is in the plastic itself, not sitting on top of it.
Start by washing the headlights with car soap and water and drying them completely. If the lens is clear again once it dries, the problem was surface grime and you are done. If it still looks yellow or cloudy when dry, the outer layer is oxidized and simple cleaning will not fix it.
The next step for a DIY approach is masking. Use automotive painter's tape to protect the paint, trim, and grille around each headlight. Sanding or compounds on painted surfaces cause damage that costs far more to fix than the headlights themselves.
From there, most home methods fall into one of three categories. Toothpaste or baking soda relies on mild abrasives and a lot of scrubbing. It can knock down very light haze but does almost nothing to real oxidation, and it leaves the lens unprotected. Retail restoration kits include a series of sanding pads, a polish, and sometimes a wipe-on sealant. These are the most effective DIY option when used carefully. Bug spray, WD-40, and similar shortcuts should be avoided entirely — they temporarily fill the surface with a chemical film that looks clear for a day or two and can soften or craze the plastic over time.
If you use a kit, work wet, keep the surface lubricated, and move through the grits in order without skipping any. Skipping a grit leaves deep scratches that the next pad cannot remove, which is why some DIY jobs end up looking hazier than when they started. Finish with the polish until the lens is uniformly clear, then apply whatever sealant came with the kit while the surface is clean and dry.
Here is the part that matters most, and where most DIY attempts fall short: sanding and polishing remove the damaged layer, but they also remove whatever protection was left. A freshly polished lens is bare plastic. Without a durable UV-resistant coating applied on top, oxidation returns — often within a few months, and sometimes faster on a vehicle that parks outside all day in Utah sun.
That is the fundamental difference between cleaning headlights and restoring them. Cleaning addresses the appearance. Restoration addresses the appearance and then replaces the protection the factory coating used to provide.
A professional restoration follows the same basic logic as a good kit, but with better control at every stage. The lens is thoroughly cleaned and masked, the oxidized material is wet-sanded away in progressive stages, the surface is refined until it is optically clear rather than just visually clear, and the finished lens is sealed with a UV-resistant ceramic coating. That coating is the step no consumer kit truly replicates, and it is the reason properly restored headlights are measured in years of clarity rather than weeks.
There are also cases where neither cleaning nor restoration is the answer. If there is standing moisture inside the assembly, a crack in the lens, a broken mounting tab, or a reflector that has burned or delaminated, the damage is internal. No amount of work on the outside will correct it, and replacement is the honest recommendation.
So which should you choose? If the haze is very light, you enjoy detailing work, and you are comfortable with the result fading and needing repeating, a quality kit and a careful afternoon is a reasonable option. If the headlights are genuinely yellowed, if you want the result to last, or if you would rather not risk sanding near your paint, professional restoration is the better value — especially compared with the cost of new assemblies.
VP Headlights restores headlights on site at your home or workplace across Salt Lake County and Utah County. Every restoration removes the oxidation and finishes with a protective ceramic coating, so the clarity holds instead of fading by the next season. Send a few photos of your headlights and we will tell you honestly whether restoration is the right call for your vehicle.
| Factor | DIY Cleaning | Professional Restoration |
|---|---|---|
| Removes oxidation | Partially, depending on method and effort | Yes, fully wet-sanded in progressive stages |
| UV protection afterward | Usually minimal or none | Durable UV-resistant ceramic coating |
| How long results last | Weeks to a few months in most cases | Years of usable clarity with normal care |
| Risk to paint and trim | Real risk if masking or sanding is rushed | Surrounding panels are fully masked and protected |
| Time required | One to three hours of hands-on work | Done on site while you go about your day |
| Best for | Very light haze and touch-up between services | Yellowed, cloudy, or heavily oxidized headlights |
Ready when you are
Get a free mobile quote.
Send a few photos of your headlights and we'll get back to you with pricing and availability.
Book for $79Keep reading
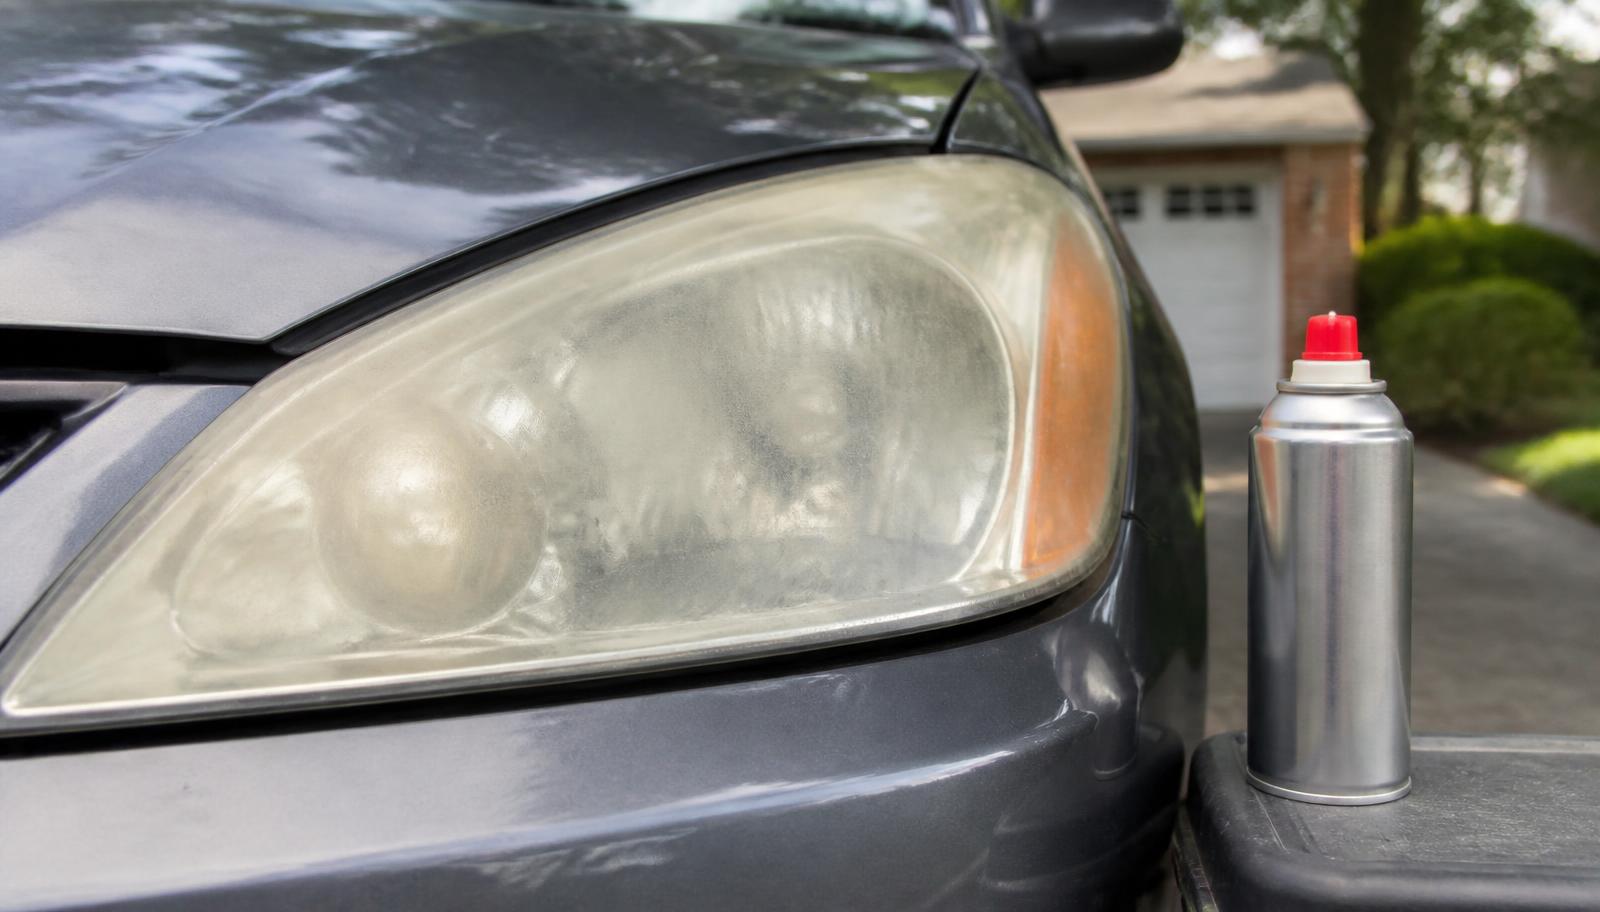
Does WD-40 Restore Headlights?
Why WD-40 can make headlights look clearer for a day or two, what it actually does to the plastic, and the safer ways to get lasting clarity.
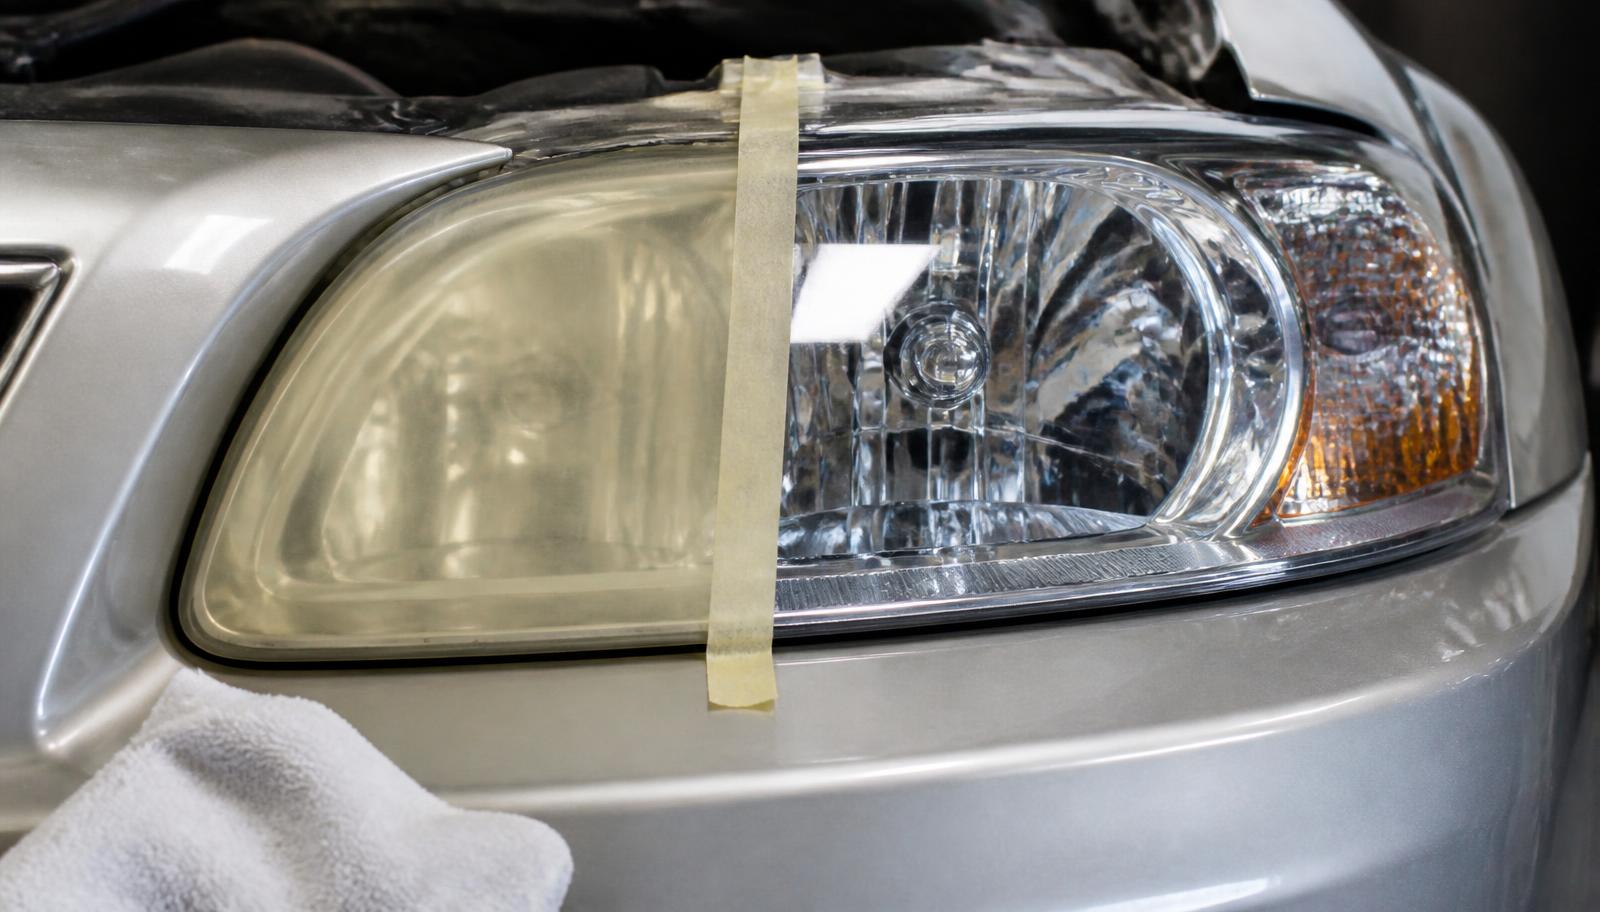
What Removes Oxidation From Headlights?
A clear breakdown of what actually removes headlight oxidation — and which household remedies only hide it for a few days.
Headlight Restoration Cost: What to Expect and What Drives the Price
What headlight restoration typically costs, what moves the price, and how a flat $79 per pair compares with replacing a full headlight assembly.